One day, I saw a colleague picking at dental calculus with a toothpick, then I asked why he didn’t get a dental cleaning. This method is ineffective at removing dental calculus and easy to damage the gums. His answer was that he was afraid of unhygienic cleaning, and what if those instruments were not thoroughly disinfected? What if the previous patient had a bloodborne disease? In fact, many people share this concern. Due to the nature of dental procedures and the variety of tools used, dental or oral clinics can indeed become the worst affected areas for cross-infection. However, regular dental clinics or hospitals will carry out very strict disinfection and sterilization of instruments to prevent the occurrence of cross infection.
Let’s explore the detailed sterilization process for dental instruments at regular dental clinics.
1. First step in dental instrument sterilization: collection and pre-treatment
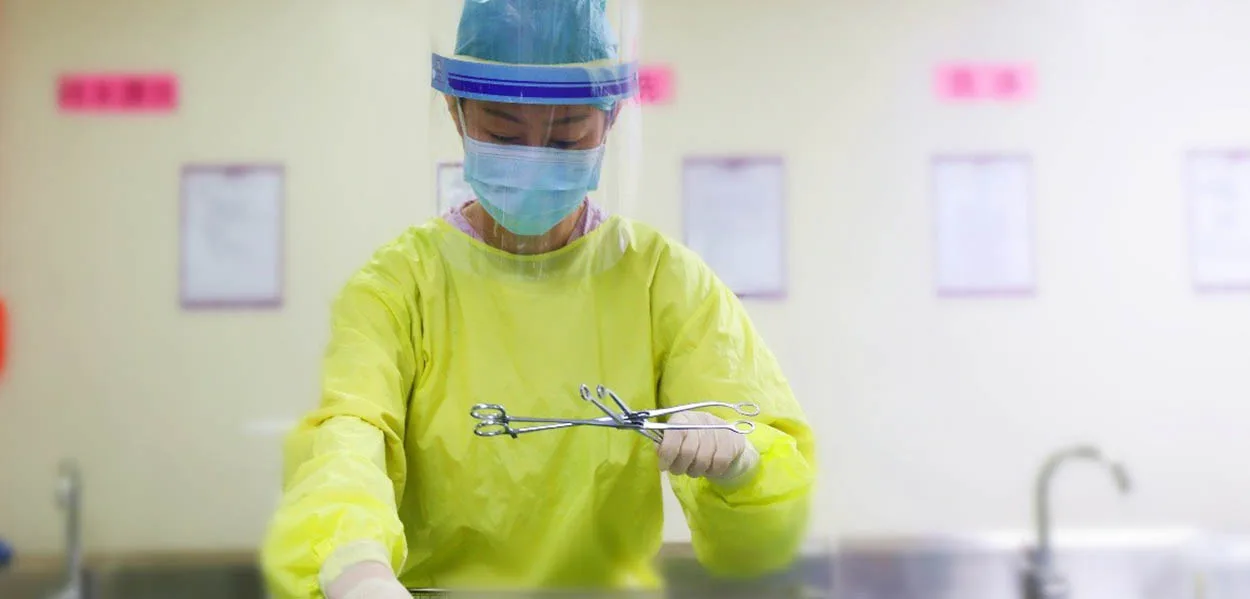
After treatment, the nurses or assistants promptly wipe the surfaces of dental instruments with gauze or alcohol swabs to remove blood stains, adhesives, infected tissue, and other residues. Next, the instruments are placed in a washing tray containing a multi-enzyme solution, covered. (Note: Before handling these recovered instruments, strict personal protective measures must be followed. Check that gloves are intact and free of damage, and wear a mask and face shield. Direct contact with the working ends of instruments, especially sharp instruments, is strictly prohibited to avoid puncture injuries.) The small instruments such as files, drills, and root canal files should be separated and handled separately from high-speed handpieces. The color-coding system may be introduced as needed:
- Red (High Risk): Direct contact with broken mucosa (e.g., extraction forceps, osteotomes)
- Yellow (Medium Risk): Dental handpieces, mouth mirrors
- Blue (Low Risk): Non-contact items (e.g., trays, Root canal measuring table)
2. How to manually pre-clean dental instruments
Pre-treatment is used to remove loose debris, while manual pre-cleaning removes visible debris.
- Rinsing: Put metal or plastic instruments without electronic components under running water to remove contaminants using the water flow. Such as dental forceps and tongue depressors.
- Multi-enzyme solution soaking: Put the rinsed instruments into the multi-enzyme solution cleaner. Soak at a constant temperature of 40°C for 15 minutes to break down biofilms. These liquids can penetrate the instrument’s minute crevices to decompose residual dirt, achieving deep cleaning.
- Ultrasonic cleaning: when the instruments after undergone soaking step, they can be further cleaned using ultrasonic cleaning technology for more deep cleaning. This technology is most suitable for cleaning bloodstained dental forceps, dental drills, etc. The ultrasonic cleaner combines high-frequency vibrations and a special cleaning liquid, it can effectively remove dirt from instruments, ensuring their cleanliness and hygiene.
Some instruments have dedicated cleaning equipment, such as dental handpiece cleaners. Dental handpieces are the most commonly used instruments in dental surgery. They have precise structure and manufacturing process, so they can’t suitable for prolonged soaking in multi-enzyme solutions or disinfectants. Dental handpiece cleaners are similar to ultrasonic cleaners, using high-frequency vibrations combined with specialized detergents to remove dirt from all parts of the dental handpiece.
Tip: If you use a dedicated protective cover for the dental handpiece during use, it can isolate most stains, making it easier to clean.

3. Purified water removes the final traces, followed by drying treatment
In dental instrument sterilization standards, purified water is utilized for its high purity, free of minerals and heavy metals, to rinse dental instruments that have undergone multiple cleaning procedures. This thoroughly removes any residual solvents or disinfectants from the instrument surfaces, preventing the formation of spots after drying.
After the purified water rinse, all instruments should be sorted by category. For example, hollow instruments and small instruments like drill bits can be dried using a high-pressure air gun. Larger instruments should be dried in the drying cabinet. Choose the right temperature based on the material of the instrument. This drying step is very important because it reduces the risk of rust on metal instruments, extends their lifespan, and prevents wet packs, improves the success rate of the next sterilization step.
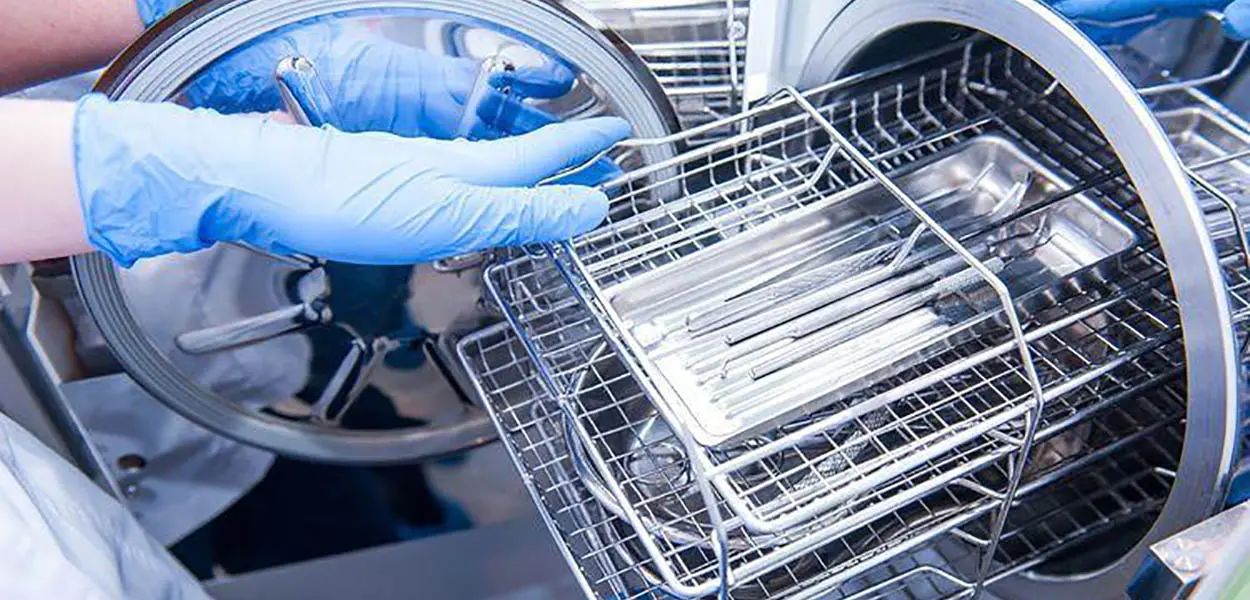
4. The most critical step in dental instrument disinfection: sterilization
After the previous steps of cleaning, soaking, rinsing, and drying, the instruments are generally in a clean state. However, to ensure the safety and hygiene of dental instruments, the next step is the most critical part of the disinfection process: sterilization. This step is crucial as it determines whether the instruments are safe and free from contamination when reused, thereby protecting the health and safety of the next patients. Now let’s take a detailed look at the specific steps of dental instrument disinfection and sterilization (using a high-pressure steam sterilizer as an example; this procedure is not a professional guideline and is for reference only).
4.1. BD test detects sterilization cabinet sealing performance
First, put a disposable Bowie-Dick Test Pack flat on the bottom layer of the sterilization rack, directly above the exhaust port. Set the parameters: run at 134°C for 3.5 minutes (not exceeding 4 minutes), ensuring the cabinet is fully preheated before conducting an empty cabinet test. After the set time, remove the B-D test pack and observe the indicator card. If the indicator card changes color uniformly and turns completely black, it indicates that the high-pressure steam sterilizer is properly sealed and can proceed to the next step.
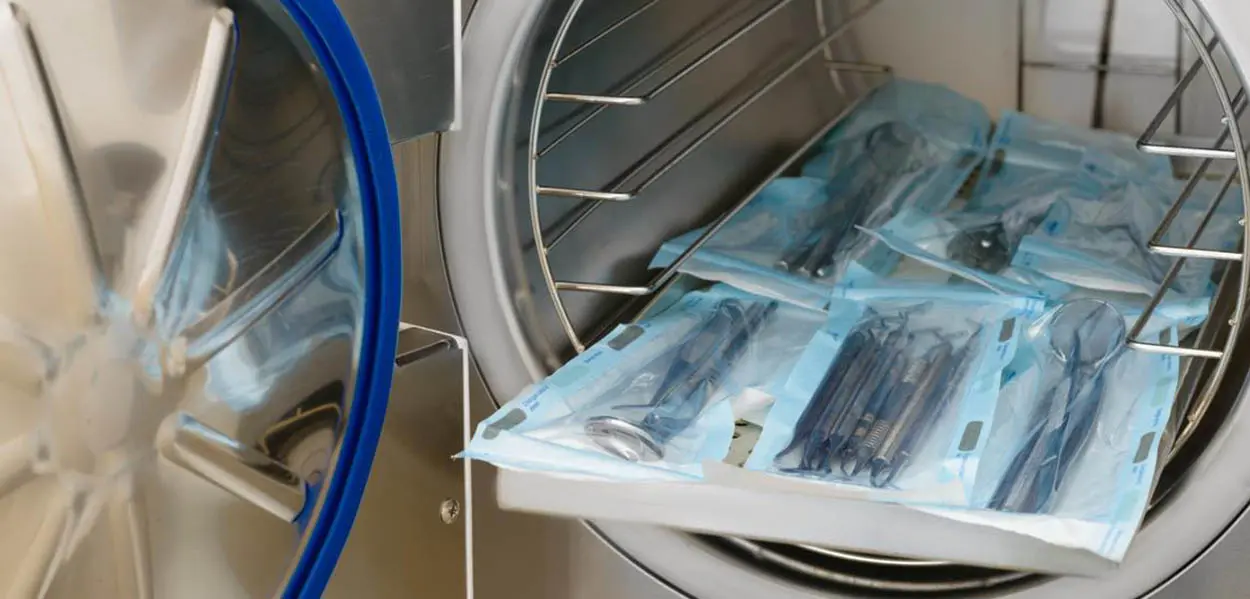
4.2. High-pressure steam sterilization of dental instruments
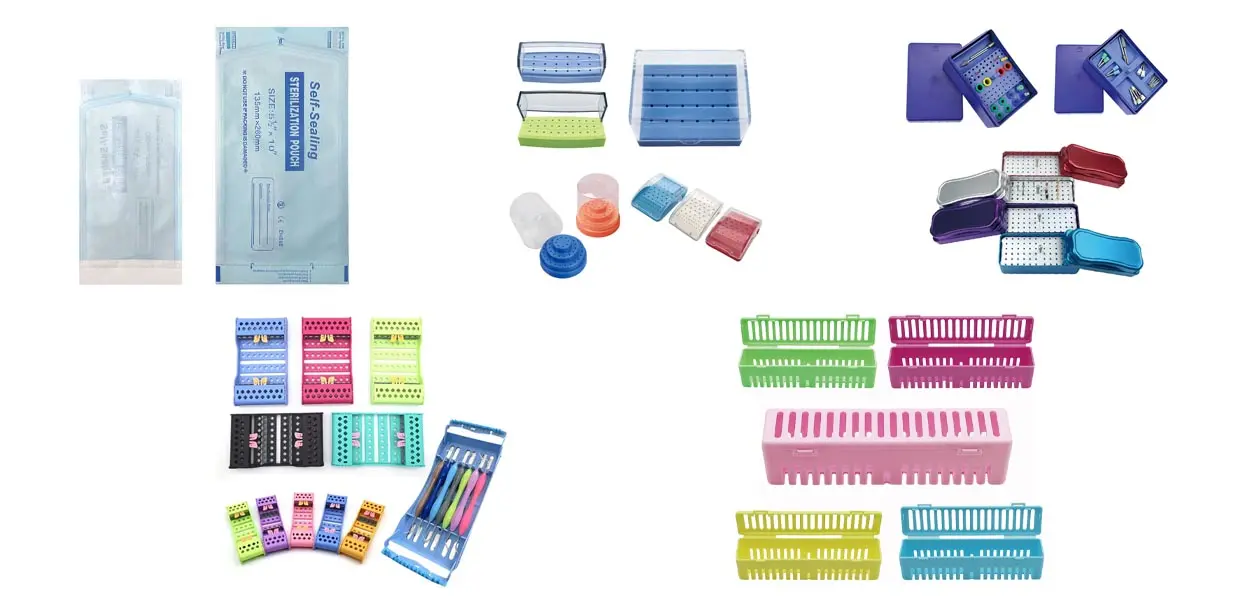
Next, place the instruments to be sterilized into the appropriate containers. Options include Self-Sealing Sterilization Pouches, Dental Cassette Rack, Dental Endo Box, Dental Disinfection Box, etc. Then, attach the steam Sterilization Indicator Tape to the surface of the container and place it in the sterilization cabinet. Set the temperature (121°C or 134°C) and time based on the material of the instruments, typically 15–20 minutes. After time pass, check the color change of the sterilization indicator strip. In our example, using high-pressure steam sterilization, the indicator tape typically changes from yellow to black. If the indicator tape changes color uniformly and turns completely black, it indicates that the sterilization process has been successful, and the next step can proceed.
Note: If the color change of the sterilization indicator tape is uneven, with some areas darker and others lighter, this indicates sterilization failure. First, ensure that the sterilization time meets the required standards. Then, verify that the previous B-D tests were passed. If the high-pressure steam sterilizer itself is malfunctioning, it will result in sterilization failure.
5. Packing, documentation, and storage
After sterilization, dental instruments should be packed using non-woven fabric or designated sterilization bags (self-sealing sterilization pouches can maintain sterility for 1-3 months and can be stored directly). Be sure to record the sterilization date, expiration date, and the operator’s name for future tracking and management.
Finally, place the sterilized instruments (after cleaning, drying, sterilizing, and packing) into a sterile room for storage. Wait for their next usage cycle.
6. Conclusion
Through the exploration of the dental instrument sterilization process above, we can see that every step is crucial and needs to be meticulous, not the slightest bit of perfunction. Operators must strictly follow the procedures, that can make sure these dental instruments are safely and reliably ready for the next use. The cleaning, disinfection, and sterilization of dental instruments are important methods in ensuring the safety of oral treatments. Dental institutions that strictly follow standard disinfection and sterilization procedures can effectively prevent cross-infection and safeguard the oral health of every patient.
Dental instrument disinfection and sterilization process table:
| Step | Process | Key Actions | Tools/Equipment |
|---|---|---|---|
| 1. Collection and Preprocessing | Remove blood, adhesives, and other residues from the surface of instruments | Wipe instruments with alcohol swabs or dressings | Cleaning tray, multi-enzyme solution |
| 2. Manual Pre-washing | Remove visible dirt | Rinse instruments under running water, soak in multi-enzyme solution | Running water, heated multi-enzyme solution |
| 3. Ultrasonic Cleaning | Thoroughly remove stubborn stains | Use high-frequency vibrations and water flow to clean | Ultrasonic cleaning machine |
| 4. Purified Water Rinsing and Drying | Remove residual solvents and disinfectants | Rinse with purified water and dry with air guns or drying ovens | Purified water, high-pressure air guns, drying ovens |
| 5. Disinfection and Sterilization | High-pressure steam sterilization to ensure sterility | Set temperature and time for sterilization | High-pressure steam sterilizer, sterilization indicator strips |
| 6. Packing, Record-Keeping, and Storage | Pack, record, and store instruments | Use non-woven sterilization bags or self-sealing bags, record sterilization details | Non-woven sterilization bags, sterilization pouches |
7. FAQs
Q1: How long does the whole process of disinfecting and sterilizing dental instruments take?
The whole process typically involves multiple steps, including cleaning, drying, and sterilization, and may take 1–2 hours. However, the exact time depends on the number and type of instruments.
Q2: Why is purified water used for rinsing?
Purified water effectively removes residual solvents and traces of disinfectants from the dental instruments. This prevents minerals and heavy metals from causing damage to the instruments or affecting their drying efficiency. The use of purified water also helps avoid water scale spots on the instrument surfaces after drying, preventing the appearance of instruments that may seem dirty despite thorough disinfection. This can help avoid any misunderstanding from patients.
Q3: How can one determine if the sterilization of dental instruments was successful?
Generally, sterilization indicator tapes are used to assess sterilization success. The chemical reagents in the indicator tape change color during the sterilization process. If the indicator tape fully changes color and the change is uniformly distributed, it indicates that the sterilization process has been successful.
Q4: What risks does inadequate sterilization of instruments pose to patients?
If the sterilization process is incomplete, bacteria, viruses, or other pathogens may remain on the instruments, leading to cross-infection and, in severe cases, medical accidents. To avoid such risks, dental institutions must strictly adhere to sterilization procedures.